Care
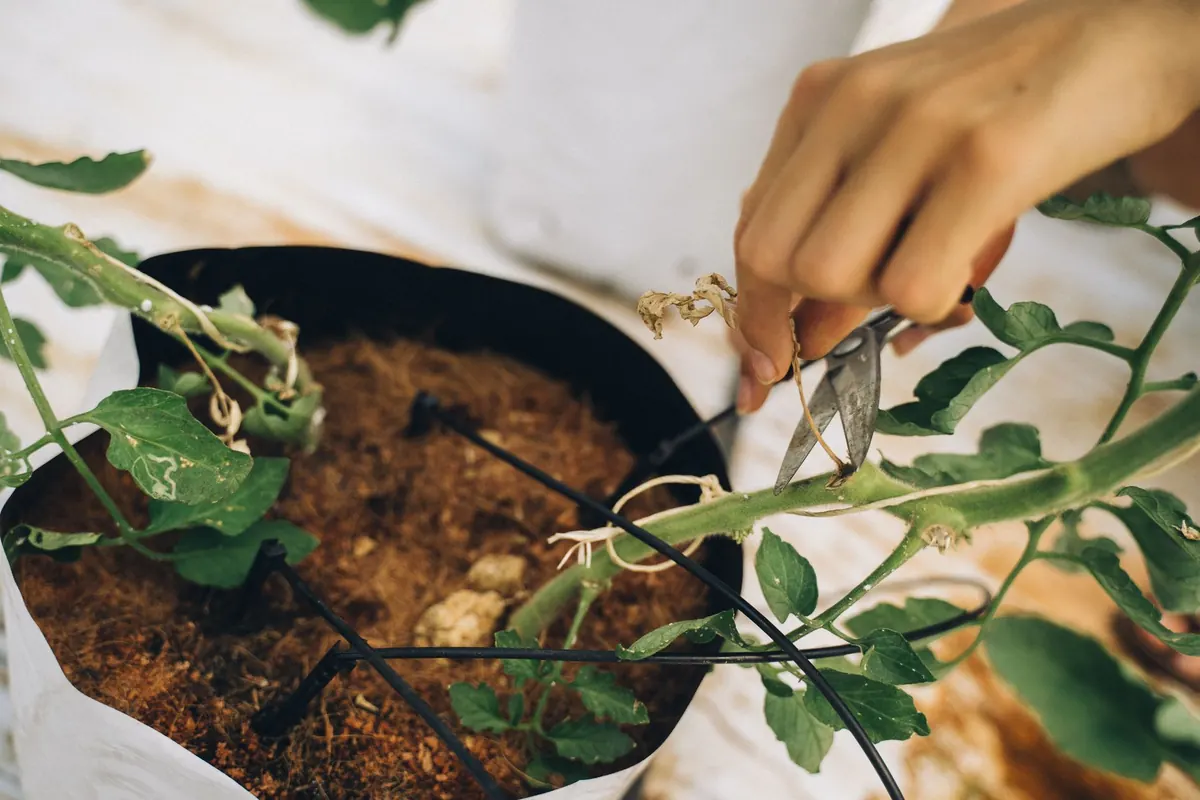
How to Prune and Pinch Out Basil for a Longer Harvest
Basil is generous, but it is not self-shaping. Left to itself, a plant grows straight up, sends out a flower spike and quietly stops producing the tender leaves you actually want. Pinch out the growing tip at the right moment and the same plant turns into a rounded bush that keeps cropping well into autumn. It takes seconds, once you know where to look.
Most people either skip pinching altogether, or cut in the wrong place and wonder why the plant still looks like a single stick.
Why pinching works
Every basil stem has one growing point at its tip. While that tip is intact, the plant concentrates on getting taller, then on flowering. Beneath it, each pair of leaves grows from a node, and in the joint where each leaf meets the stem sit two dormant buds. They stay asleep while the tip above them is active.
Remove the tip just above a node and those two buds wake up. Each grows into a new stem, so you get two where there was one. Pinch those two and you get four. Do it consistently through early summer and a single pot can carry a dozen usable stems.
There is a second gain. A plant that is regularly pinched stays in leaf-producing mode rather than seed-producing mode. The leaves stay softer, the flavour stays sweet, and the plant has far less reason to run to flower.
When to make the first pinch
Wait until the plant has three or four pairs of true leaves, roughly 15cm tall or about six weeks from sowing. A seedling only a couple of centimetres high has nothing to spare, and cutting it then just sets it back. Once there are a few nodes on the stem, it is ready.
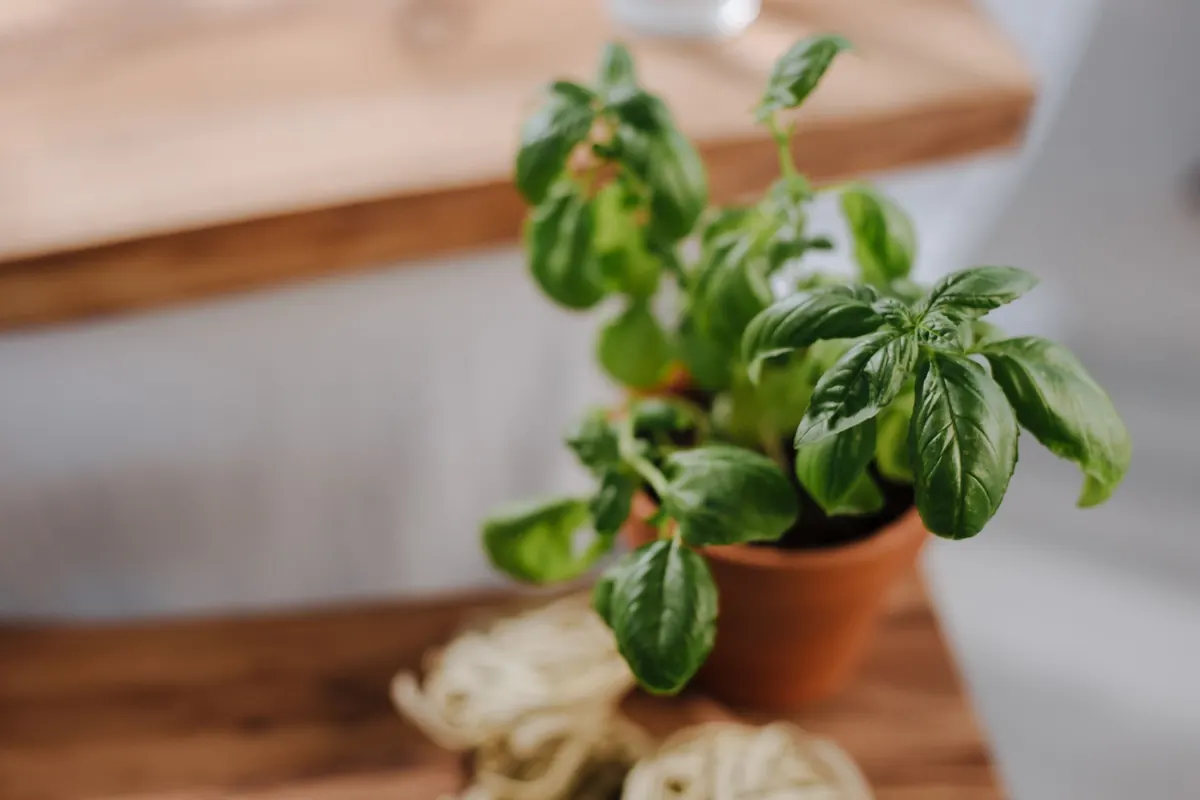
The same applies to a supermarket pot. Those are usually several seedlings crammed together, which is why they collapse so quickly. Pinch every stem above its second or third node, and if the plants are congested, ease them apart and pot them on singly.
Pinch in the morning, on a plant that has been watered. Firm stems cut cleanly; limp ones bruise.
Finding the right point to pinch
The common error is to nip off the top pair of leaves, or to take the stem back by half. Both leave the plant confused. What you want is a clean cut just above a node.
- Follow a stem to its tip. The newest leaflets are small, close together and often a shade paler.
- Drop down to the node below: a full pair of leaves growing from opposite sides of the stem.
- Look at the point where each leaf joins the stem. The small bumps there are the buds you are trying to wake up.
- Pinch with thumbnail and forefinger, or snip with sharp scissors, leaving 3–5mm of stem above the node. Cut too high and the stub withers; cut too low and you damage the buds.
- Work round every main stem, then stop. Never take more than about a third of the foliage in one session.
New shoots should appear from the node within a week or so. Once they have two nodes of their own, pinch them in the same way. Keep going while the plant is growing strongly, and you will be harvesting from all over a bush rather than chasing one tall stem.
What to do when flowers appear
A flower spike starts as a tight cluster of tiny leaves at the top of a stem, often described as looking like a small green fist. Deal with it the moment you spot it: cut the whole spike back to the next node down, exactly as you would a normal pinch.
If you leave it, two things happen. The leaves thicken and turn bitter, and the plant stops putting out new growth. Once the flowers open properly the shift is hard to reverse, though the plant will usually carry on for a while if you keep cutting the spikes off.
Late in the season, letting one or two plants flower is worth it. The bees enjoy them, and if you leave the spikes to dry you can collect seed for next year. Do it deliberately, at the end, rather than by accident in July.
Common mistakes to avoid
- Cutting too low. Removing half a stem at once shocks the plant and leaves bare wood behind. Take the top one or two nodes only.
- Pinching only the leaves. If you pick leaves from the sides of a stem but leave the tip, you are harvesting without shaping. Always finish by taking the growing point.
- Using blunt tools. Crushed stems rot. Sharp scissors, snips or a clean thumbnail.
- Pinching a stressed plant. If the compost is dry or the plant is wilting, water it first and pinch a day later.
- Cutting in the heat of the day. Morning is kinder and recovery is quicker.
- Ignoring the first flower spike. A week's delay can cost you a month of leaves.
Keeping the harvest going
Once a plant is bushy, harvest from the top down. Take the top two or three nodes of each stem, cutting back to a node every time, and you are pinching and picking in the same motion. Water at the base rather than over the leaves, and give a light feed every couple of weeks during the growing season.
If you want basil right through to autumn without gaps, sow a small pot every three or four weeks rather than relying on one big plant. Younger plants crop hardest, and the succession fills any lean spell.
Root the tips you remove
Nothing needs to go to waste. A tip 8–10cm long will root happily in water. Strip the lowest leaves, leaving two or three pairs, and stand the cutting in a glass on a bright windowsill out of direct sun. Change the water every couple of days. Roots usually appear within one to two weeks, and the cutting can be potted into compost once they are a few centimetres long.
Late in the season, these cuttings are the easiest way to keep basil going. Bring a few indoors before the nights turn cold and grow them on a sunny windowsill; they will crop through winter while the outdoor plants fade.
Photo: Anna Tarazevich / Pexels